Showing posts with label recycling. Show all posts

Saturday, January 14, 2012

CUTE Planners are a must-have! (Modification Project)

According to some, planners are the best tool for time management. Especially for those who really have a lot of things to keep track on. Some planners even have nice pages where you can write your expenses, monthly period, random stuffs, etc... I find them amusing because I see them as not just a plain planner but also a personal diary. Very helpful, indeed!~ *nod*nod*

I was lucky to get one as a gift! BUT... It looks so plain.

It is actually a freebie from a shop.
And It wouldn't be so nice of me if I'm going to dislike it just because it looks soo plain. 

I have to do something... *cracks knuckles*

Remember my last post when I said I stayed away from the pc for a while to make some craft? Originally, this was what I have in mind. To modify this simple planner and turn it into something fancy. It's always a wonder for me that whenever I start to craft, I can't seem to stop unless I am really satisfied. So, the recycled notepad were just a part of this project. Read on to find out. :D

Let's start off with the materials I used:

Scraps.
*Scrap fabric and laces
*Scarp booking materials/embellishments
*Leftover beads
*Scissors
*Stamping kit
*Leftover wrappers
*Hot glue
*Blings (optional)
*Creativity
*Patience
*Whatever else you want to add xD

Moving on to the step by step guide. 
1.Traced the cover of the planner to the scrap fabric. Since I want to conceal the original cover, I used two types of fabric. One is the black non-woven fabric (commonly used on Eco-Bags) and the second one is somewhat lace-y type.  You can choose other materials like leftover gift wrappers, other types of fabric or leather. Cut the fabric along the lines.


2. Apply thin layer of glue carefully to the cover. 


3. Press the first fabric onto the cover firmly. 


4. Don't forget to cut a small hole for the snap closure. Though some planners don't have this. 


5. Glue the second fabric onto the first one. Make sure you press it firmly to avoid bumps. It will look better when the cover is flat. 


6. Let it dry.


7. When it is completely dry, add the lace wherever you want. I put mine in the middle and front part of the cover.


8. Also, you might want to add (glue) laces on the borders of the cover to conceal uneven cuts or to make sure that the fabric won't peel off easily. It's like adding a bias tape to a neckline when sewing, right? If you know what I mean... ^_^ 


This is how it should look like after covering all the borders of your cover. 


9. This is the fun part! ^_^ EMBELLISHING!!!~ Anything goes...


10. After embellishing the cover, I still feel that I should add more. So, I decided to make an envelope out of an old wrapper leftover. To do this, I traced a small envelope to the wrapper and cut and then...
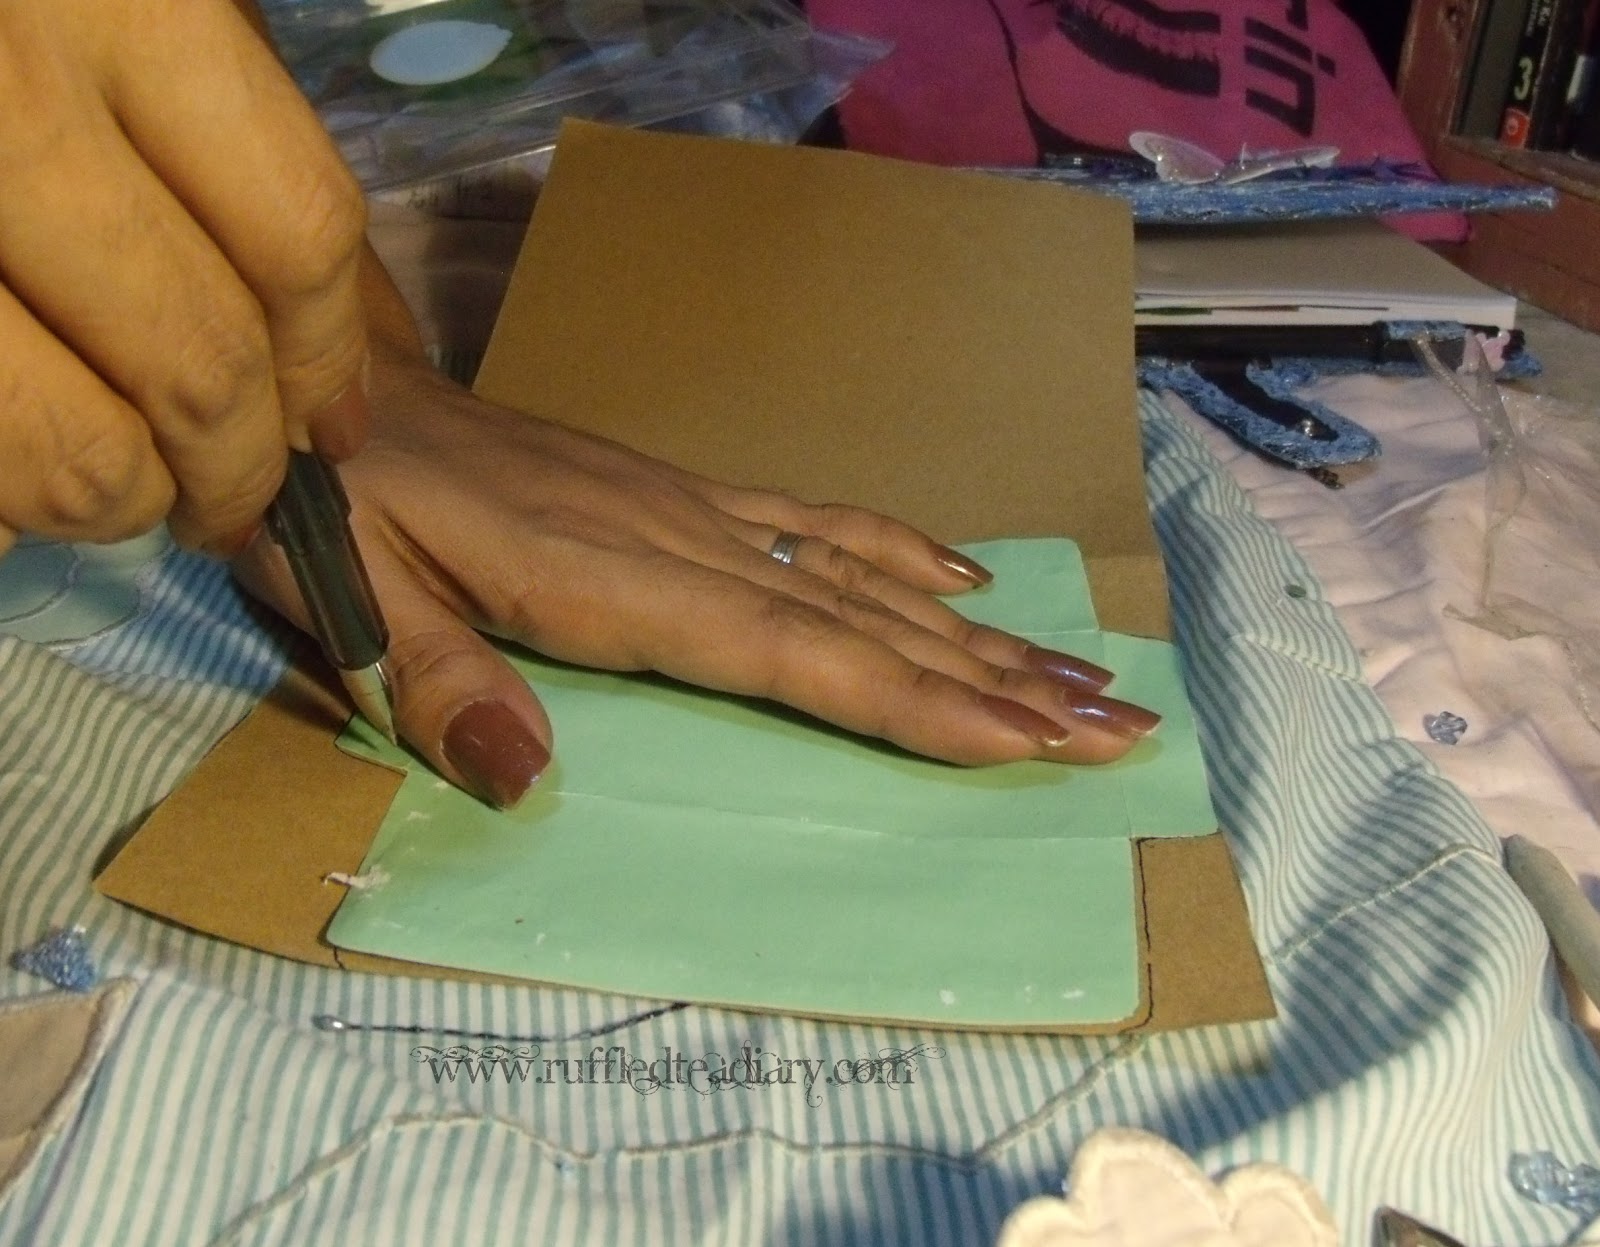

TA-DAAAH!~

11. I glued them on the blank leaf of the planner (at the back part). But of course, you can add this wherever you feel like adding it. Look!~


I made two envelopes out of the old wrappers and also added a paper photo frame on the other side. I can slide in my favorite photo into this. By the way, these envelopes can hold business cards, bills, receipts, etc... Sometimes, we get too lazy to keep them in place, right? This could help you keep your small but important pieces of paper.

12. Guess where I put my DIY notepad. 
Right here:

at the back of the last leaf... 
13. But wait! There's more! The bookmark! 


14. Now, this is optional. I want the pages to be cute, so I stamped on some nice prints and my name on each page.


really ready for: "Much love, Lunatix" ♥ ^_^
 DONE-DONE-DONE-DONE!!!
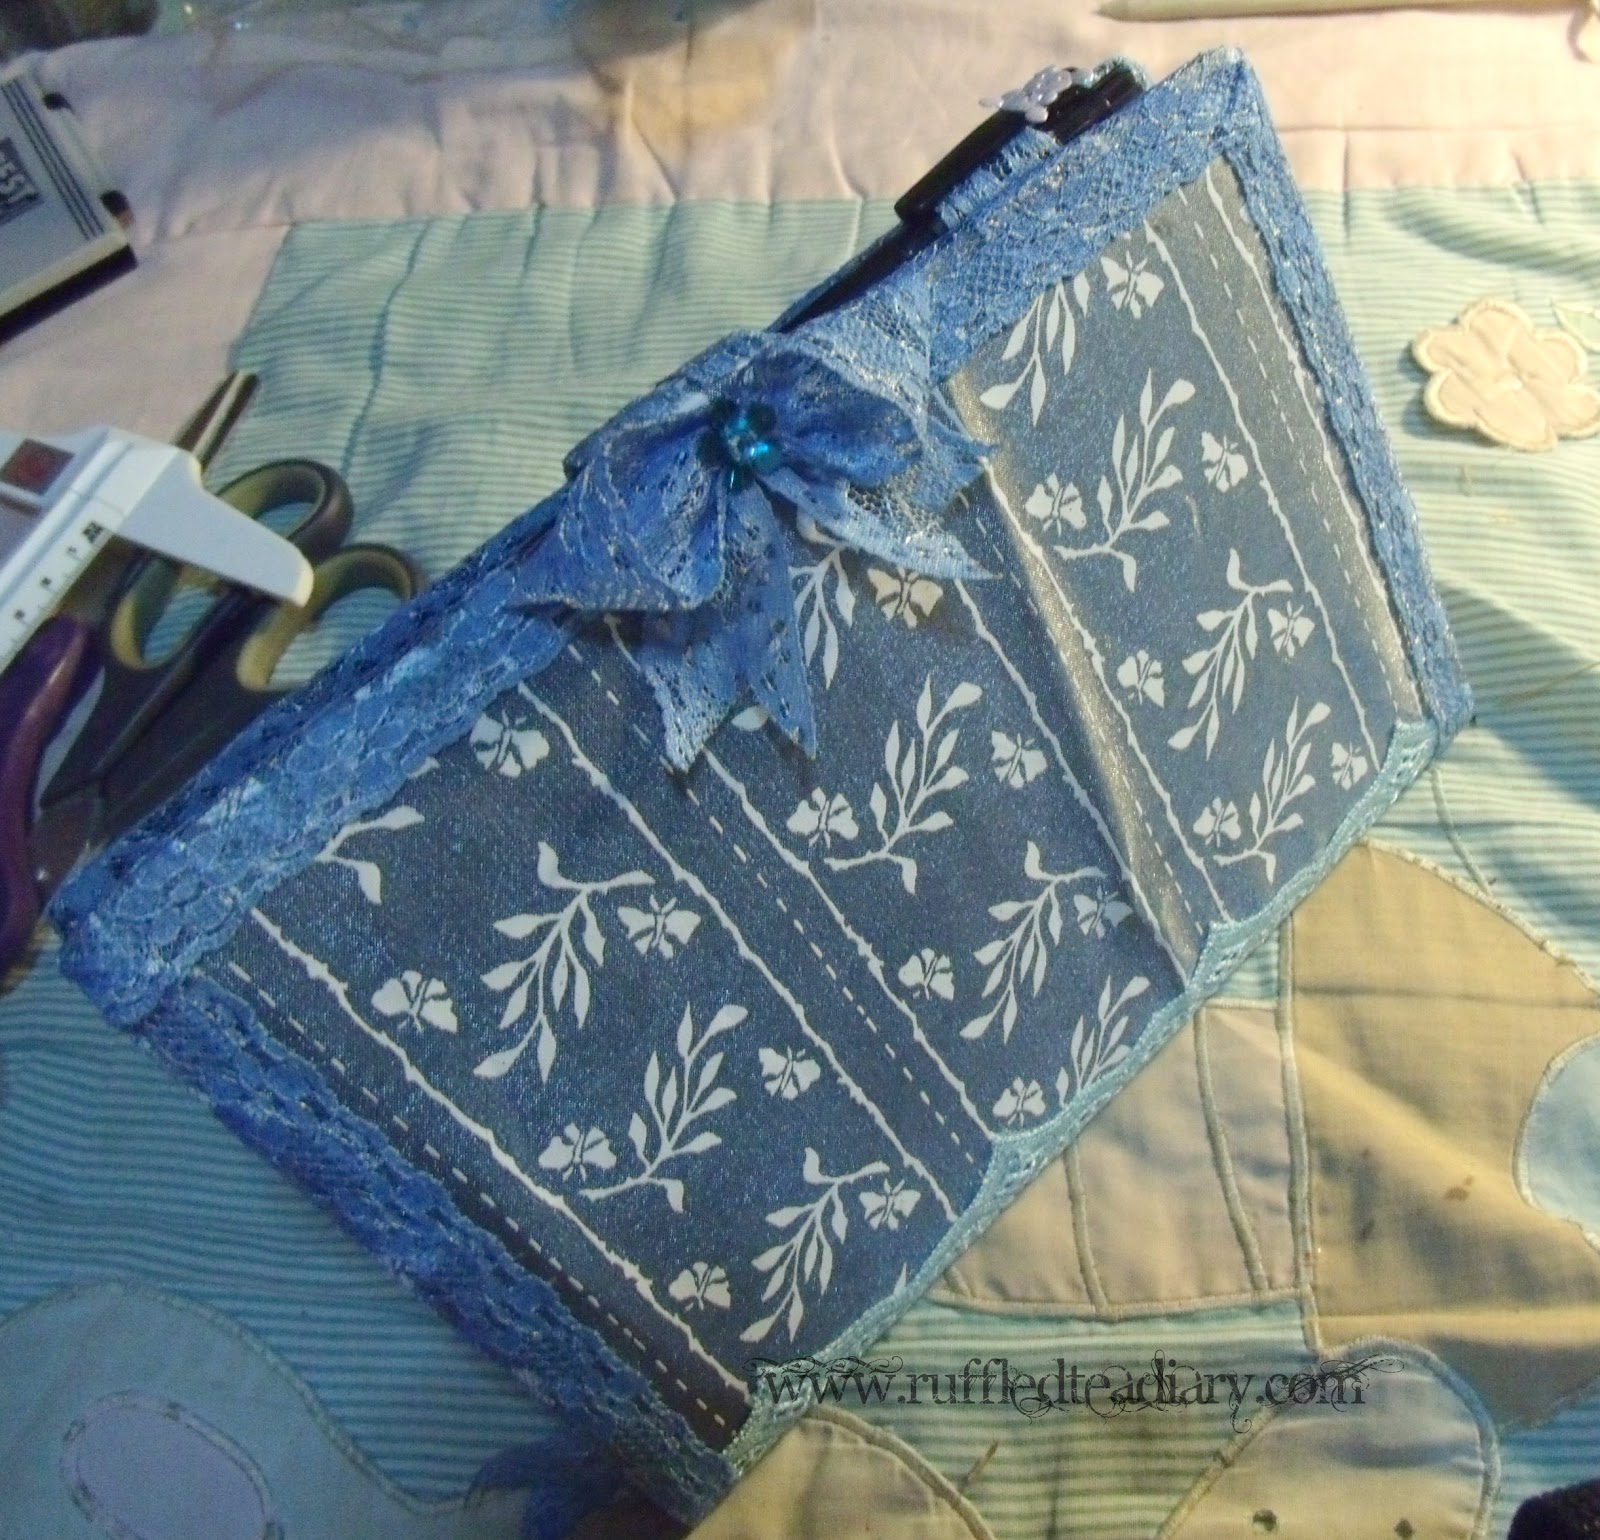
This is now the oh-so-plain-ho-hum planner! Cute? I know!!! Hahaha
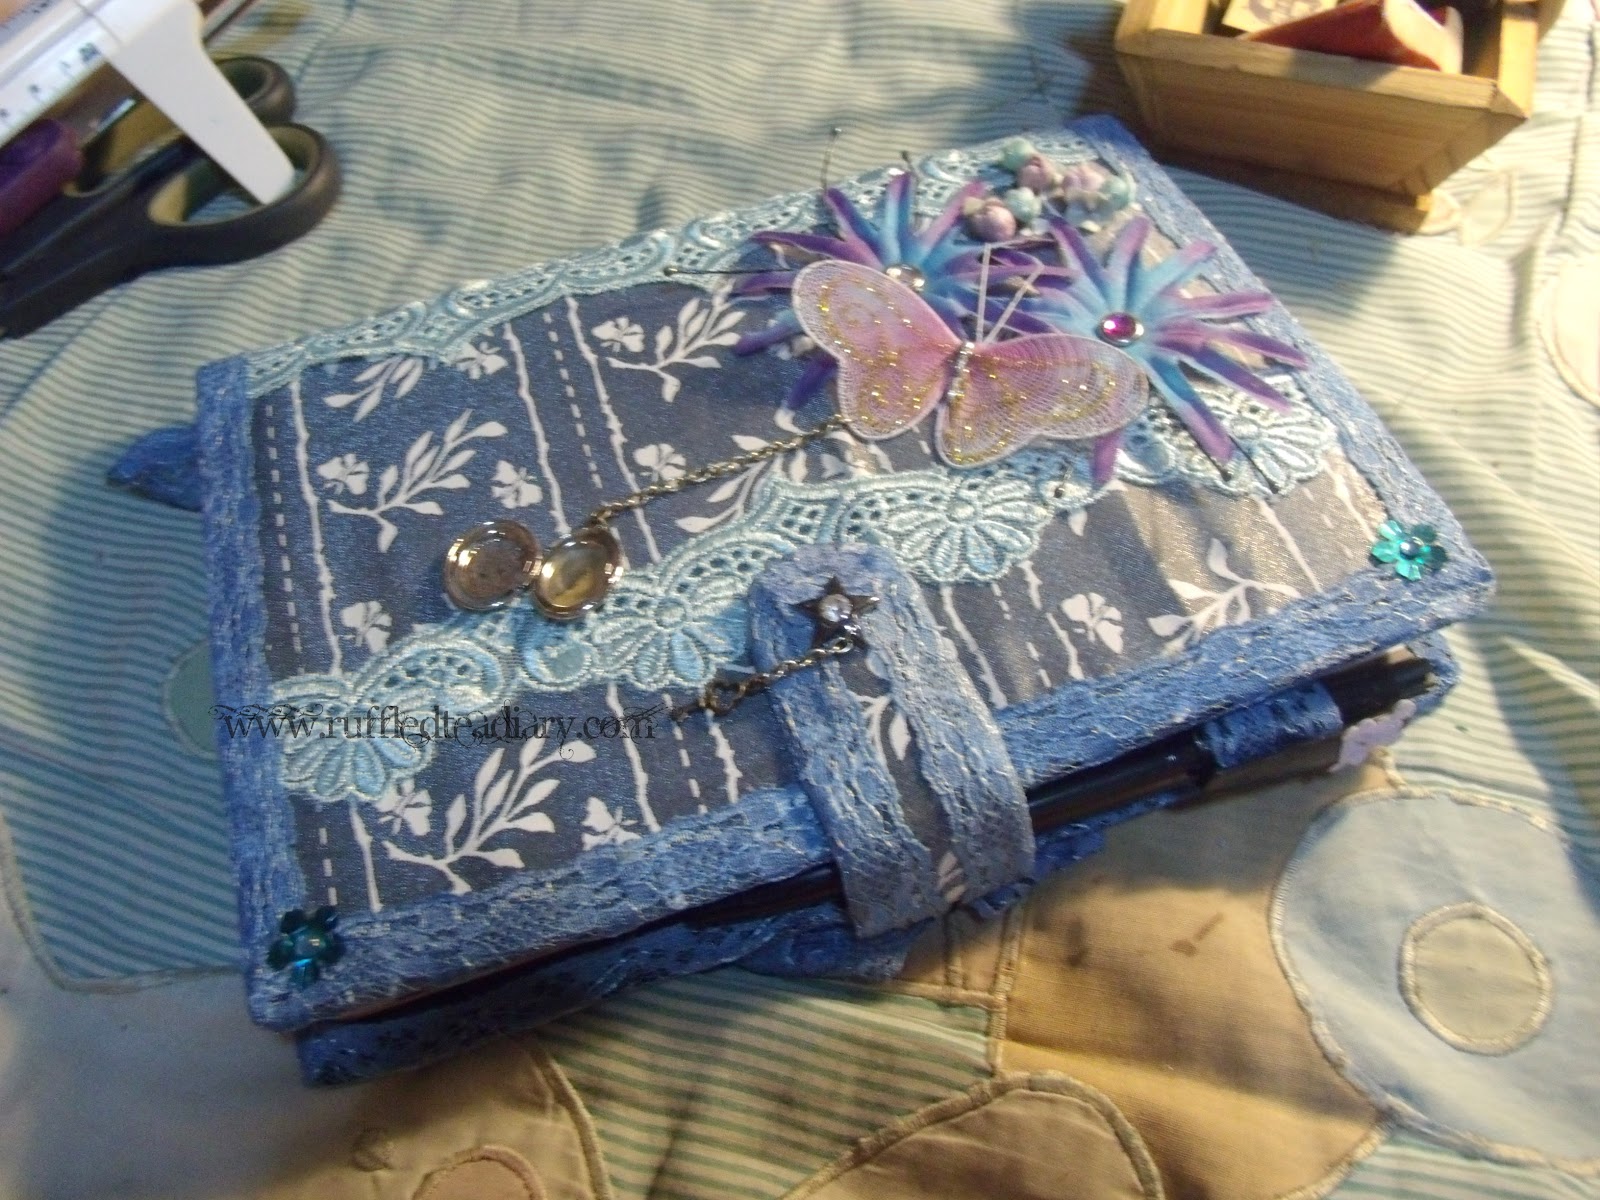
Front
Back
Details
I added a small locket in case I want to be sentimental. xD Oh, how I love the key!~ Though this planner don't have locks. LOL. xD 

~ ♥ ~

Now, let me ask... 

Do you like it?
Because I want to give it away for free! ^_^

Watch out for my next post! 

And Thank you for reading!~ ♥

Save it and Keep it

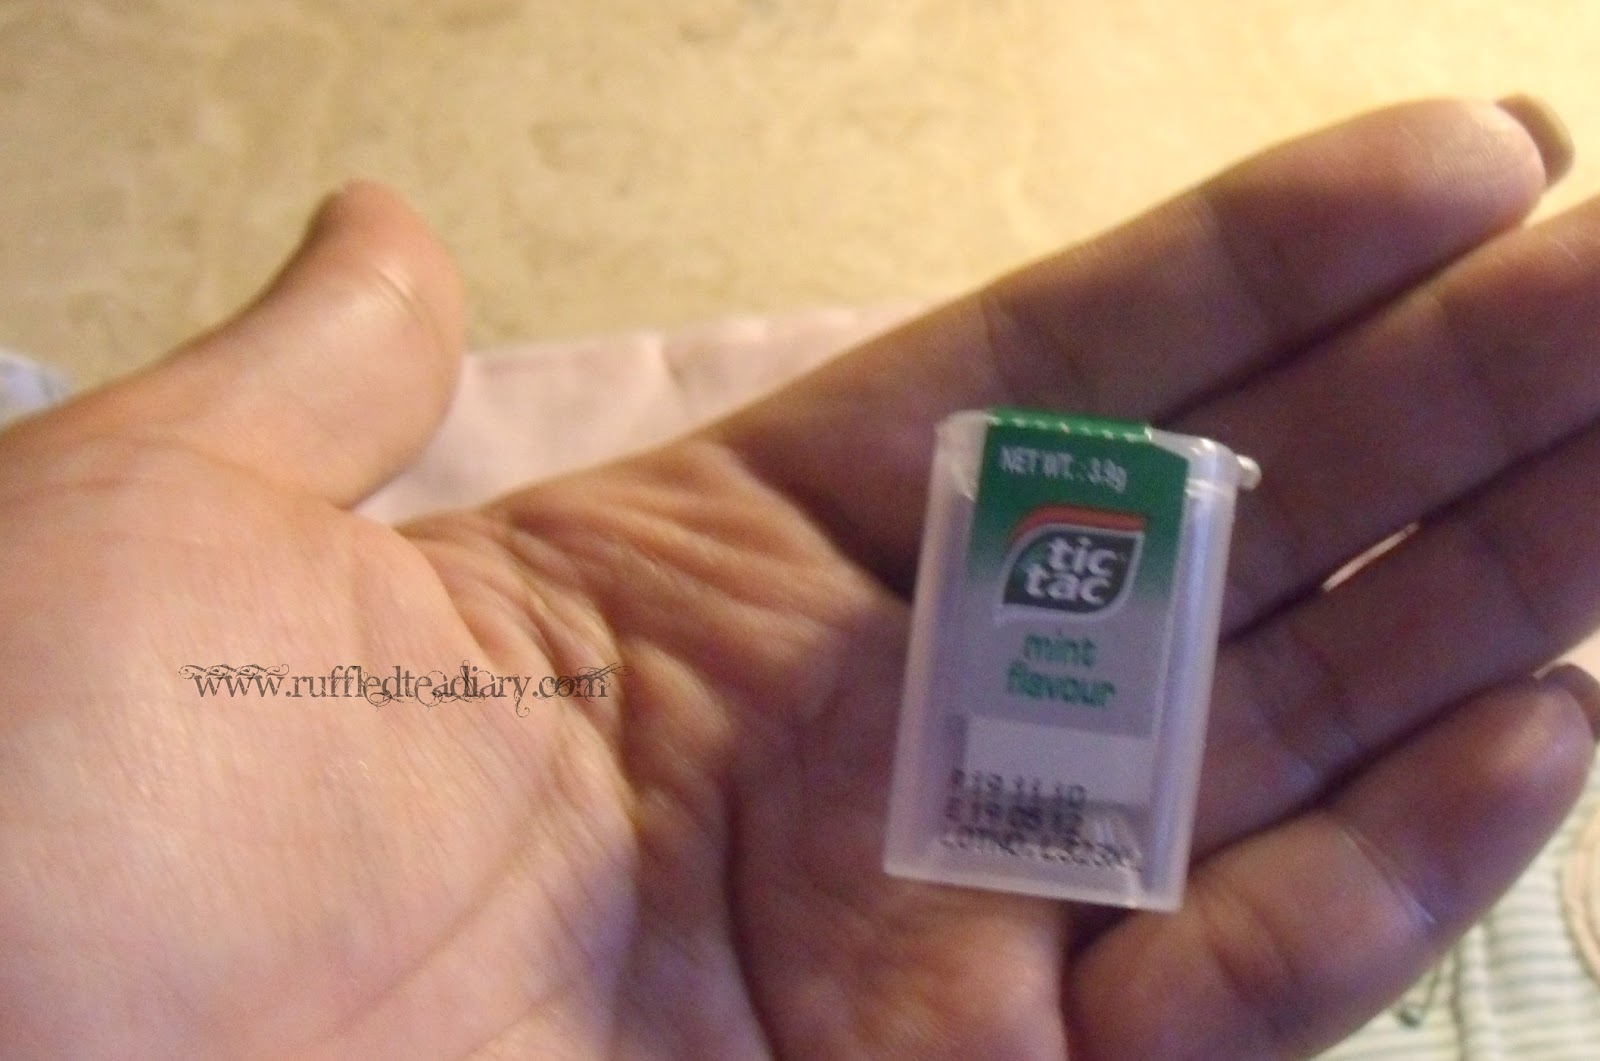
Thinking of throwing away your empty Tic Tac containers? 


Think again.


Good for keeping your stuffs in your bags organized. 

Save it. Keep it. Re-use it.

You can even embellish it!~ I'll post it some other time, dearies!  

Gotta work on my other posts... Please stand by. ♥ 

Tuesday, January 10, 2012

Paper bags to something else

Papemelroti is one of my favorite novelty shop since my high school days. As a matter of fact, some of the items in this old photo of my past Papemelroti collection are still in my possession.

Lots of brown paper products = lots of smile ♥
They have a wide selection of Eco-Friendly products and most of their stuffs are reasonably priced. I like their brown colored papers! I don't know why but I feel like time travelling whenever I see one... >_< 

Anyway, I was in a crafting mood yesterday. I decided to stay away from the PC for a while and do something productive. So, I dug up my craft compartment (right under my closet) and I found this:

A very old paper bag/wrapper from Papemelroti...
And this:

Perfume Sampler carton holder
YES! Believe it or not, I keep and collect these kinds of stuffs. Do they seem useless to you? To me, they're valuable! I know I could use them one day and besides, I find them too pretty to throw away.~ ^_^

Using just plain scissors, I cut the paper bag into small square pieces.

Easy peasy~
Pile them up and staple them altogether to the perfume sampler holder. Almost done... 

No stapling skills necessary xDDD
To make it more personalized and cuter, I took out my stamp set (which I also bought from Papemelroti), and pressed on to the pages. It was fun! ^_^ I might get addicted to stamping too! 

I must get more stamp sets from them. Their designs are really cute! ♥
Now, I have a new memo/note/scratch pad that I can use whenever I need to right down something, either a grocery list or a phone number. :)

I'm sure you can make your own too. Even better! Just be creative. ♥

(Watch out for my next posts because this project is just a part of it.)

Thanks for reading!~

NOTE: I do not own this project as my original idea. I have found similar recycling projects in the web. This is just my own version.  

Wednesday, July 27, 2011

Something for Roca...

Few weeks ago, my sister asked me to help her make a dress for her Shih-Tzu pup, Roca. Though, I doubted her patience, I tried teaching her some basics of sewing. But I was right about her patience. *Hahaha 

Of course we cannot start a project without a pattern. So, I tried to figure out how to make one after taking some of Roca's body measurements. Good thing, I have a book about scrap projects  to make and there was a pattern for a dog's dress.  Although, what we have in mind was kinda different from the pattern shown in the book, I was able to get the whole idea! Yey!~

And here's how it turned out...

She wanted some Loli-ish dress... xD
Not bad, eh? And it's really easy! The fabric were left overs and from my niece's old shirt. I might make some more... Good luck to me! I need more time in my hands. Too many projects to finish... @__@

Oh, well... I hope you like it!~

Tuesday, April 19, 2011

Envelope Ideas

Do you do this to your book to remember or mark the last page that you're reading?
Folding the corner of the page of your book can lead to its deterioration.
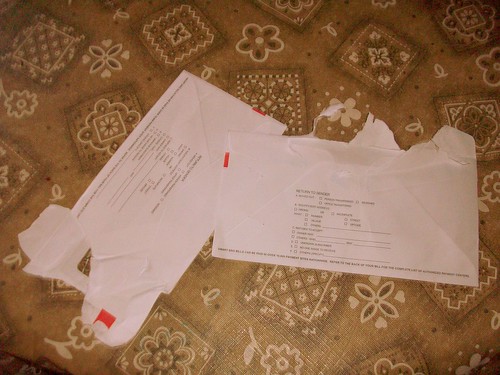
Wonder what to do with these old envelopes?
???
Let's turn these old envelopes into something that can make you avoid folding the pages of your book!

WHAT YOU NEED:
* envelopes from old letters or past utility bills 
* glue (craft glue, hot glue)
* your choice of embellishments 
* scrap laces, ribbons and such
* pair of scissors
* creativity and patience xD

INSTRUCTIONS:
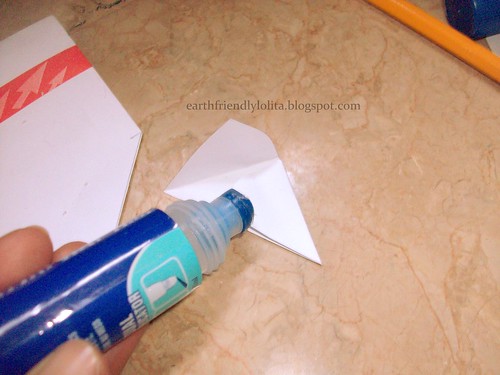
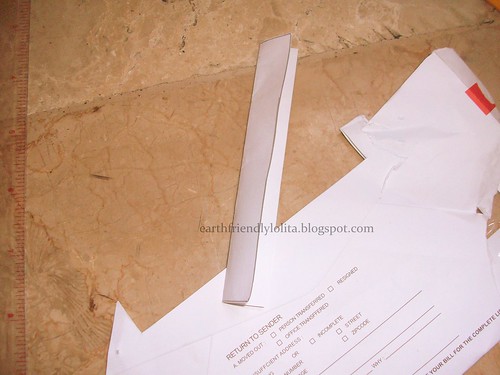
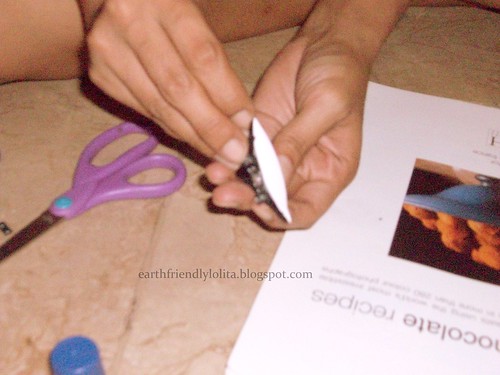
Cut out the corners of your envelope. I chose to make a triangle shaped bookmark, but you can also make a square.

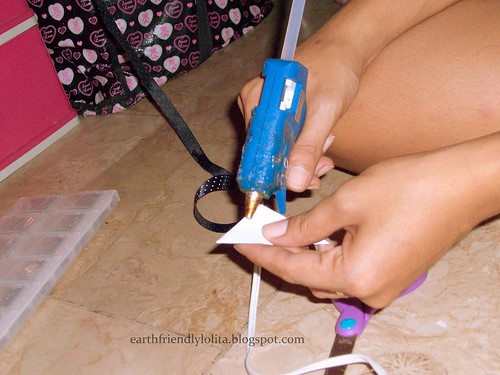
Make sure to seal them with a dab of glue.
I also cut out the other parts of the envelope. It would be a waste if you'll just throw them away.
~♥~

Now, we'll start adding some embellishments!

Remember: You can use a hot glue but make sure that you'll only use small amount. It's too bulky!
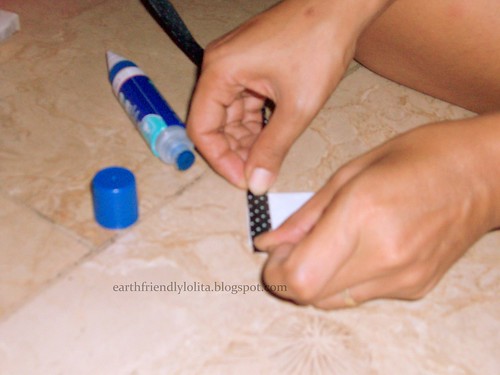
If in doubt, use clear craft glue. It's better but it takes a while before it dries up. 
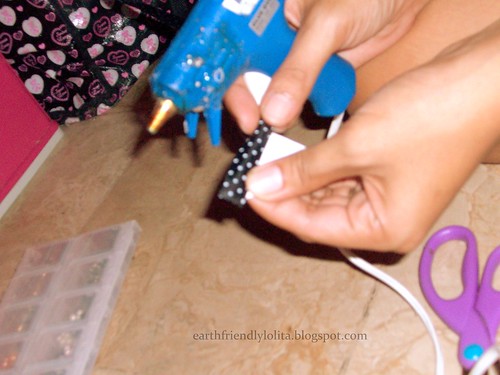
This is the fun part! Decorating! Most of the laces/ribbons I used are scraps.
Be creative! Add some small beads, buttons, or some scrap booking leftover materials.
Almost done! Check if you can spread it open... 
And... Ta-daaah! xD

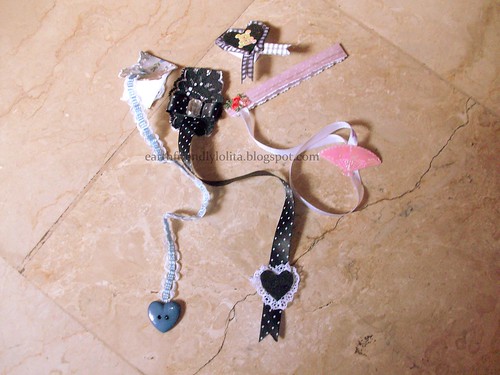
Triangular page markers for your most loved books!
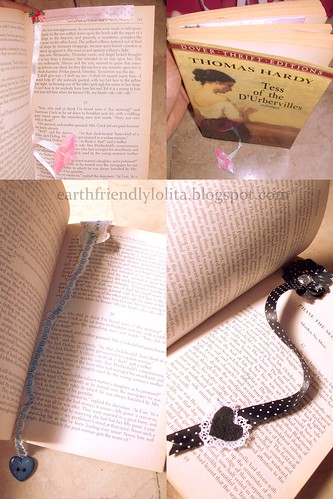
Longer ones for larger books.
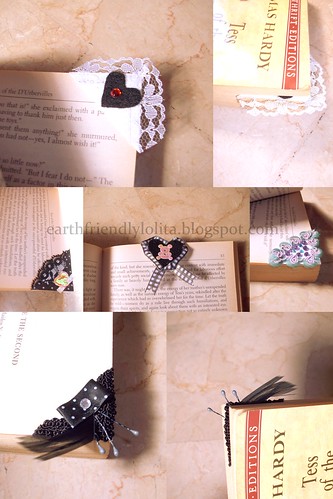
How to use them:

Insert it on the corner (or in the middle, for larger books) of the page you want to mark.
~♥~

See? Even in the smallest of things, we could find ways to recycle. The point is to minimize our trash! We get to enjoy crafting too! :) These small things are also great to give away to your friends who, like you, loves to read! Start working on your own now and show off your creativity. Just in time for the celebration of the Earth Day on the 22nd of April! Save the date, okay? :)

~♥~

NOTE: I do not claim to own this tutorial as my original idea. I'm sure I have seen this in one art show on TV but it was years ago. I tried so hard to remember the name of that show but I am really sorry, I can't. If you happen to know who originally made this, please do let us know. And I would be more than glad to link you back. Thanks!

Monday, April 4, 2011

Head Pieces Out of Mussel Shells

This is a post written in behalf of The Earth Friendly Lolita Project

What you need:
  • Mussel shells
  • Glitter colorless nail polish
  • Hot glue
  • Scrap laces, felt fabric, or any other fabric.
  • Pearl or any beads

After washing ang drying the mussel shells...
Mussel shells

Coat shells with glitter colorless nail polish so the portion that would be left uncovered with laces or beads would still look nice.
Mussel Shells

After nail polish has dried, you may now add pearl, laces, or any other embellishment of your choice.
DIY head pieces out of mussel shells

Cover headband with any fabric or ribbon of same width
DIY headband

Seal ends with ribbon this way
DIY headband

Cover the back of mussell shell with felt fabric cut in same shape so you can easily attach it to the headband, at the same time to make it look nicer.
DIY headband out of mussel shell

Now that you have attached the shell to the headband, make sure to hide any unwanted sight of hot glue. Cut a small circular felt fabric to cover it (Encircled in red)
DIY headband out of mussel shell

So here's the finished headband! Pretty, isn't it?
DIY headband out of mussel shell

For the fascinator - attach a clip instead..
DIY fascinator out of mussel shell

So there's the cutesy fascinator out of mussel shells!
DIY fascinator out of mussel shell

For the other fascinator. I covered each of the four shells with lace fabric, then glued them together on sides.
DIY fascinator made out of mussel shell

Glued all of them onto a leftover piece of felt fabric to hold them in place.
DIY fascinator made out of mussel shell

Then cut the excess fabric
DIY fascinator made out of mussel shell

I hot glued a larger clip at the back for it's heavier than the first fascinator I made.
DIY fascinator made out of mussel shell

I added a big bow at the center, feathers, black pearls, and other embellishment. Decorate as you desire.
DIY fascinator made out of mussel shell

A second look
DIY fascinator made out of mussel shell

All of them when worn
DIY fascinator made out of mussel shell
DIY Headband made out of mussel shell

Let creative juices flow! Recycling and Lolita love. Support The Earth Friendly Lolita Project.
Pin It