Showing posts with label earth friendly lolita.. Show all posts

Tuesday, April 19, 2011

Envelope Ideas

Do you do this to your book to remember or mark the last page that you're reading?
Folding the corner of the page of your book can lead to its deterioration.
Wonder what to do with these old envelopes?
???
Let's turn these old envelopes into something that can make you avoid folding the pages of your book!

WHAT YOU NEED:
* envelopes from old letters or past utility bills 
* glue (craft glue, hot glue)
* your choice of embellishments 
* scrap laces, ribbons and such
* pair of scissors
* creativity and patience xD

INSTRUCTIONS:
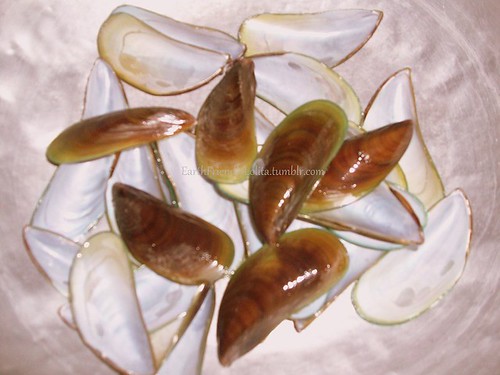
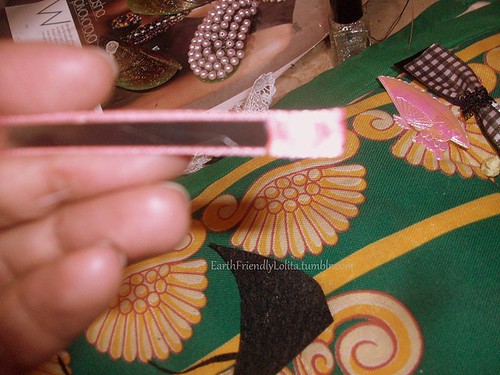
Cut out the corners of your envelope. I chose to make a triangle shaped bookmark, but you can also make a square.

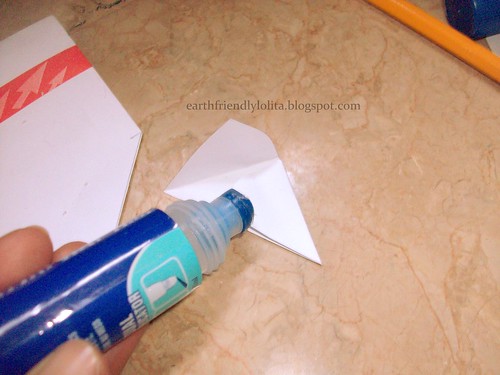
Make sure to seal them with a dab of glue.
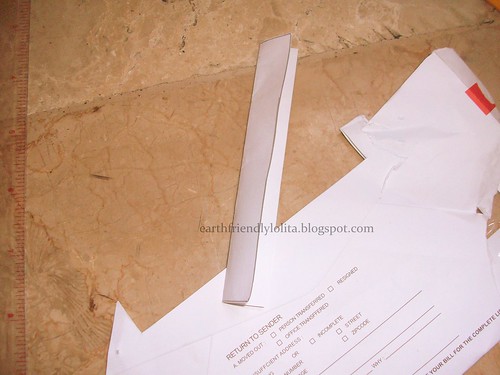
I also cut out the other parts of the envelope. It would be a waste if you'll just throw them away.
~♥~

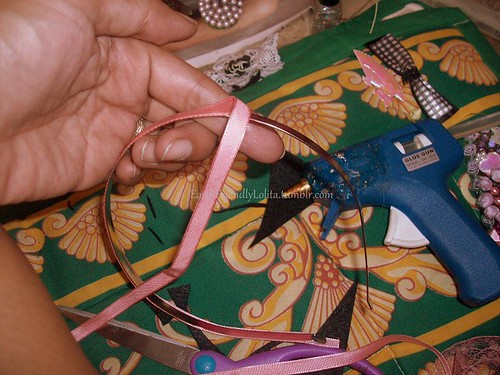
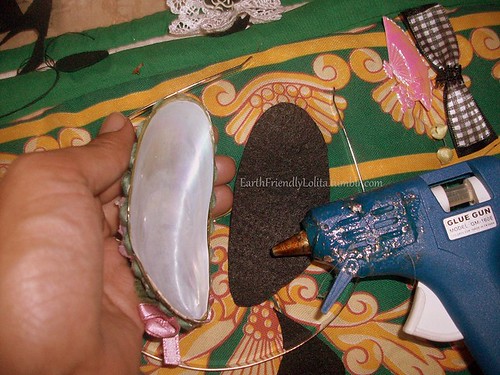
Now, we'll start adding some embellishments!

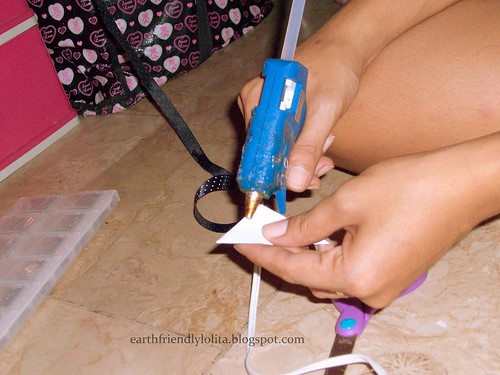
Remember: You can use a hot glue but make sure that you'll only use small amount. It's too bulky!
If in doubt, use clear craft glue. It's better but it takes a while before it dries up. 
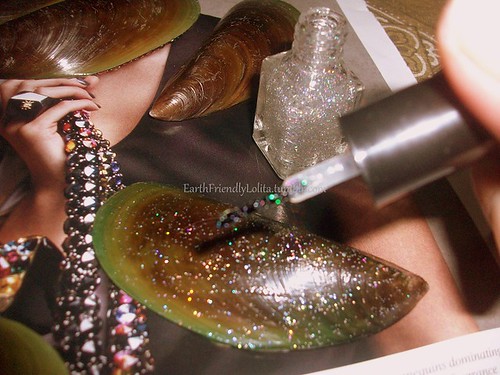
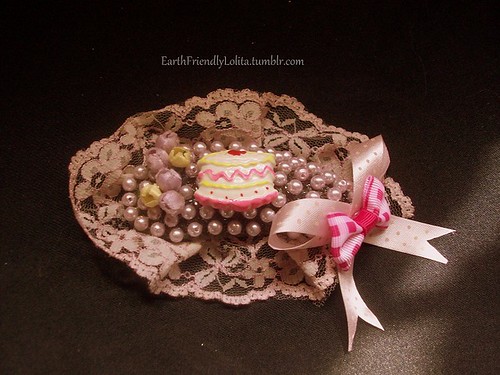
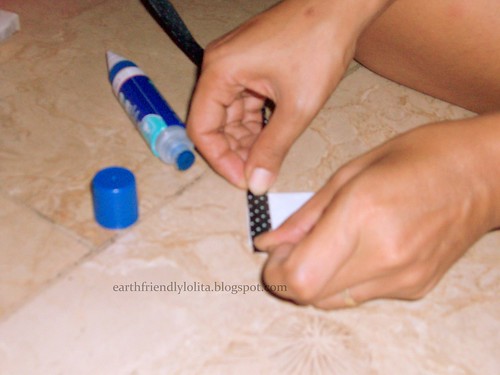
This is the fun part! Decorating! Most of the laces/ribbons I used are scraps.
Be creative! Add some small beads, buttons, or some scrap booking leftover materials.
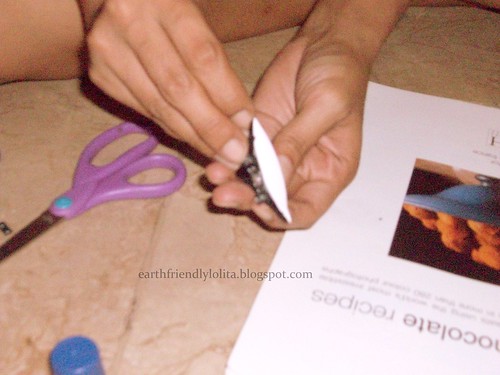
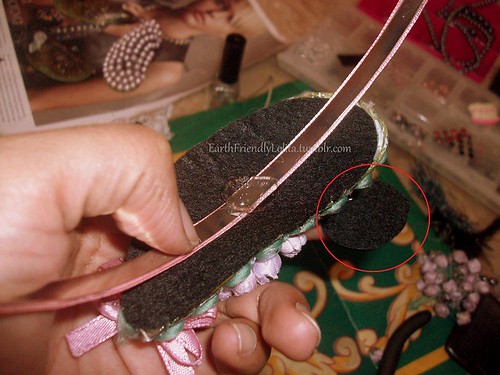
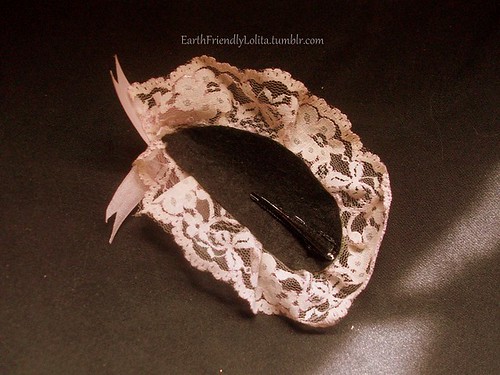
Almost done! Check if you can spread it open... 
And... Ta-daaah! xD

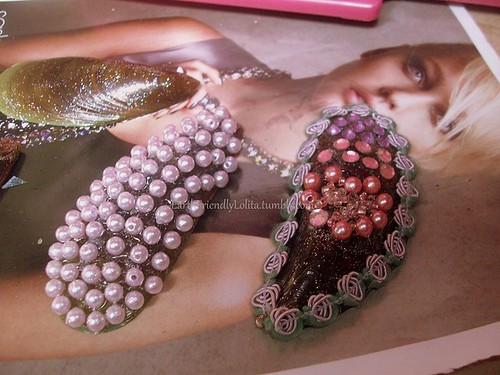
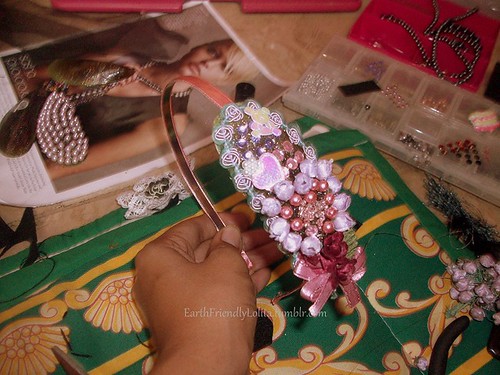
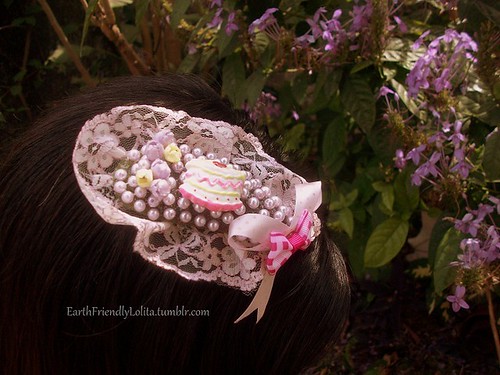
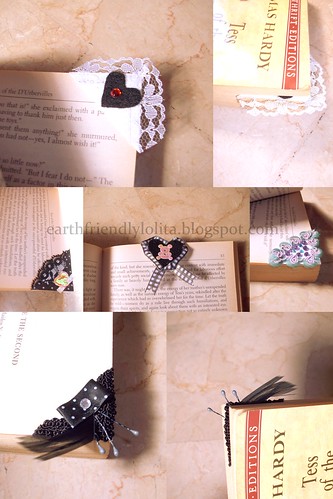
Triangular page markers for your most loved books!
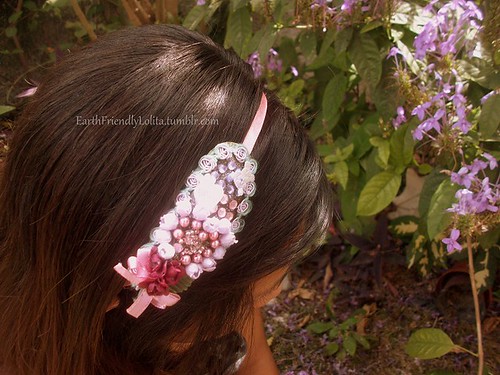
Longer ones for larger books.
How to use them:

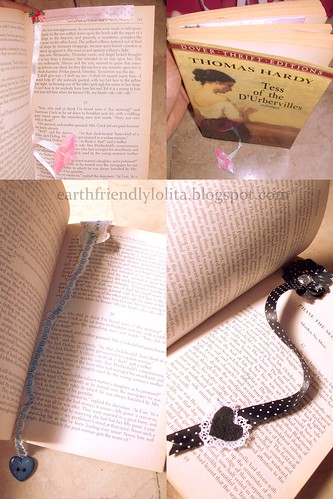
Insert it on the corner (or in the middle, for larger books) of the page you want to mark.
~♥~

See? Even in the smallest of things, we could find ways to recycle. The point is to minimize our trash! We get to enjoy crafting too! :) These small things are also great to give away to your friends who, like you, loves to read! Start working on your own now and show off your creativity. Just in time for the celebration of the Earth Day on the 22nd of April! Save the date, okay? :)

~♥~

NOTE: I do not claim to own this tutorial as my original idea. I'm sure I have seen this in one art show on TV but it was years ago. I tried so hard to remember the name of that show but I am really sorry, I can't. If you happen to know who originally made this, please do let us know. And I would be more than glad to link you back. Thanks!

Monday, April 4, 2011

Head Pieces Out of Mussel Shells

This is a post written in behalf of The Earth Friendly Lolita Project

What you need:
  • Mussel shells
  • Glitter colorless nail polish
  • Hot glue
  • Scrap laces, felt fabric, or any other fabric.
  • Pearl or any beads

After washing ang drying the mussel shells...
Mussel shells

Coat shells with glitter colorless nail polish so the portion that would be left uncovered with laces or beads would still look nice.
Mussel Shells

After nail polish has dried, you may now add pearl, laces, or any other embellishment of your choice.
DIY head pieces out of mussel shells

Cover headband with any fabric or ribbon of same width
DIY headband

Seal ends with ribbon this way
DIY headband

Cover the back of mussell shell with felt fabric cut in same shape so you can easily attach it to the headband, at the same time to make it look nicer.
DIY headband out of mussel shell

Now that you have attached the shell to the headband, make sure to hide any unwanted sight of hot glue. Cut a small circular felt fabric to cover it (Encircled in red)
DIY headband out of mussel shell

So here's the finished headband! Pretty, isn't it?
DIY headband out of mussel shell

For the fascinator - attach a clip instead..
DIY fascinator out of mussel shell

So there's the cutesy fascinator out of mussel shells!
DIY fascinator out of mussel shell

For the other fascinator. I covered each of the four shells with lace fabric, then glued them together on sides.
DIY fascinator made out of mussel shell

Glued all of them onto a leftover piece of felt fabric to hold them in place.
DIY fascinator made out of mussel shell

Then cut the excess fabric
DIY fascinator made out of mussel shell

I hot glued a larger clip at the back for it's heavier than the first fascinator I made.
DIY fascinator made out of mussel shell

I added a big bow at the center, feathers, black pearls, and other embellishment. Decorate as you desire.
DIY fascinator made out of mussel shell

A second look
DIY fascinator made out of mussel shell

All of them when worn
DIY fascinator made out of mussel shell
DIY Headband made out of mussel shell

Let creative juices flow! Recycling and Lolita love. Support The Earth Friendly Lolita Project.
Pin It