According to some, planners are the best tool for time management. Especially for those who really have a lot of things to keep track on. Some planners even have nice pages where you can write your expenses, monthly period, random stuffs, etc... I find them amusing because I see them as not just a plain planner but also a personal diary. Very helpful, indeed!~ *nod*nod*
I was lucky to get one as a gift! BUT... It looks so plain.
 |
| It is actually a freebie from a shop. |
And It wouldn't be so nice of me if I'm going to dislike it just because it looks soo plain.
I have to do something... *cracks knuckles*
Remember my last post when I said I stayed away from the pc for a while to make some craft? Originally, this was what I have in mind. To modify this simple planner and turn it into something fancy. It's always a wonder for me that whenever I start to craft, I can't seem to stop unless I am really satisfied. So, the recycled notepad were just a part of this project. Read on to find out. :D
Let's start off with the materials I used:
 |
| Scraps. |
*Scrap fabric and laces
*Scarp booking materials/embellishments
*Leftover beads
*Scissors
*Stamping kit
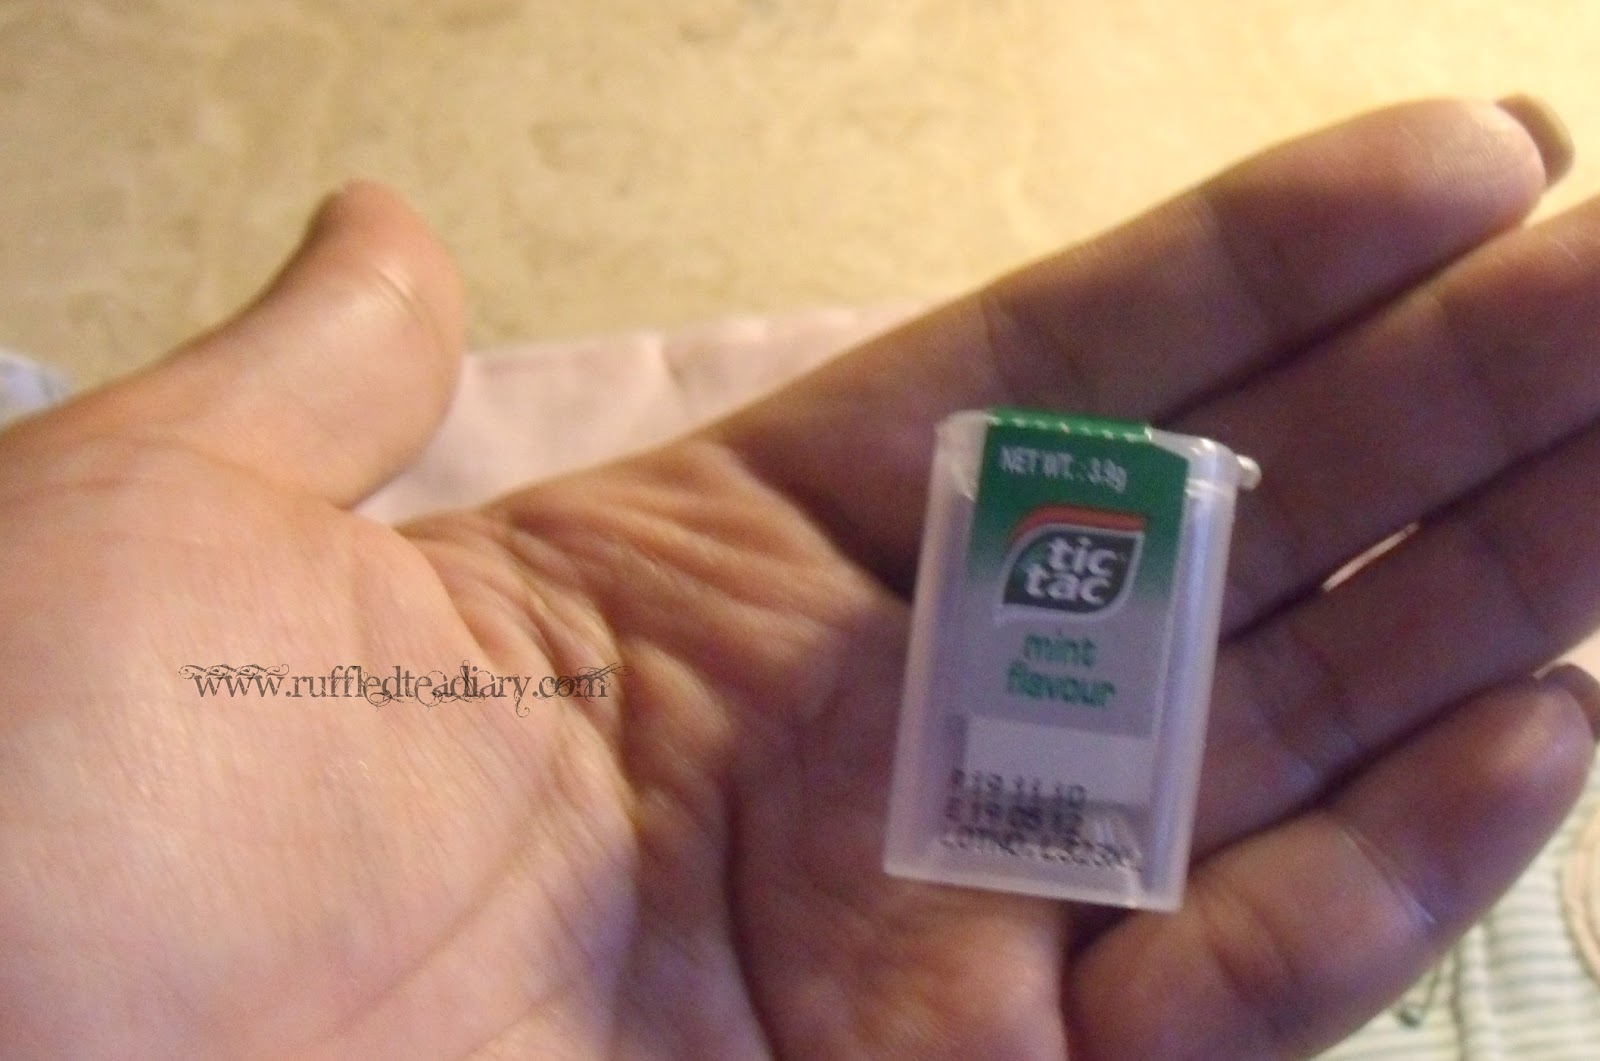
*Leftover wrappers
*Hot glue
*Blings (optional)
*Creativity
*Patience
*Whatever else you want to add xD
Moving on to the step by step guide.
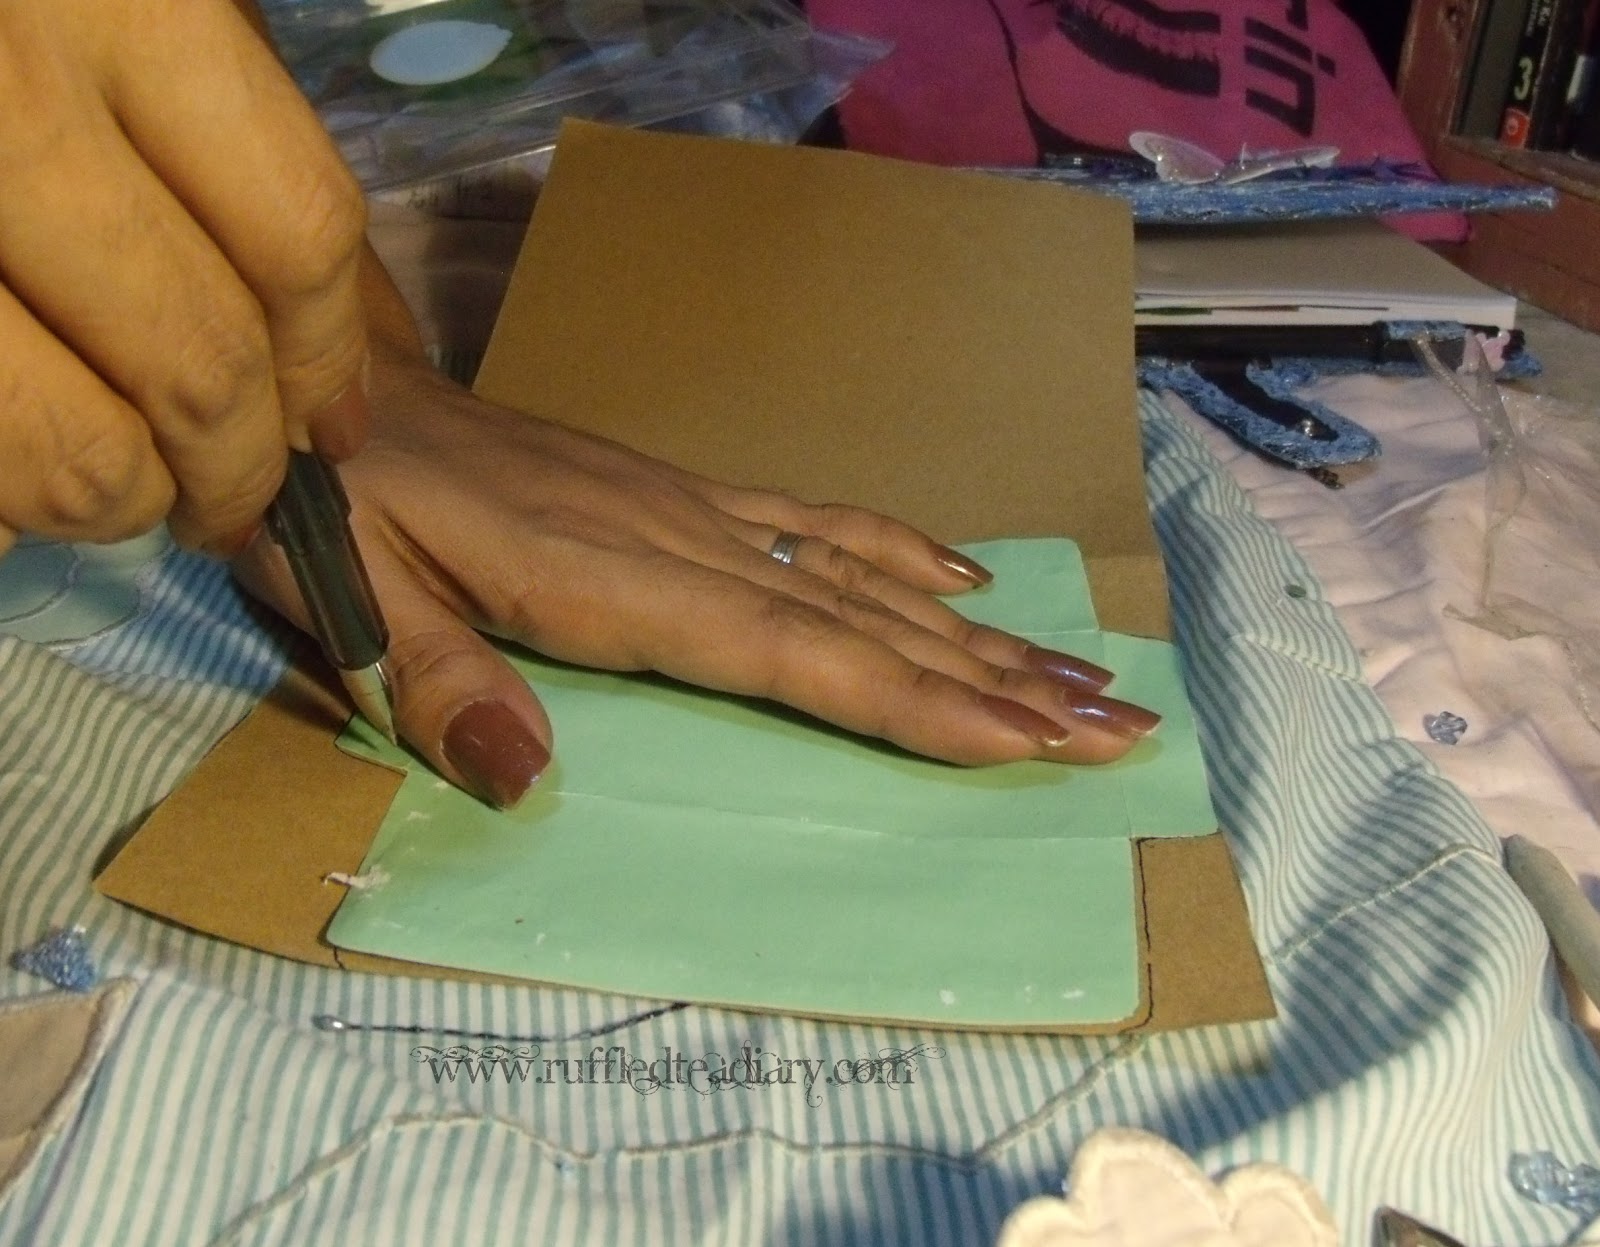
1.Traced the cover of the planner to the scrap fabric. Since I want to conceal the original cover, I used two types of fabric. One is the black non-woven fabric (commonly used on Eco-Bags) and the second one is somewhat lace-y type. You can choose other materials like leftover gift wrappers, other types of fabric or leather. Cut the fabric along the lines.

2. Apply thin layer of glue carefully to the cover.

3. Press the first fabric onto the cover firmly.

4. Don't forget to cut a small hole for the snap closure. Though some planners don't have this.

5. Glue the second fabric onto the first one. Make sure you press it firmly to avoid bumps. It will look better when the cover is flat.

6. Let it dry.

7. When it is completely dry, add the lace wherever you want. I put mine in the middle and front part of the cover.

8. Also, you might want to add (glue) laces on the borders of the cover to conceal uneven cuts or to make sure that the fabric won't peel off easily. It's like adding a bias tape to a neckline when sewing, right? If you know what I mean... ^_^

This is how it should look like after covering all the borders of your cover.

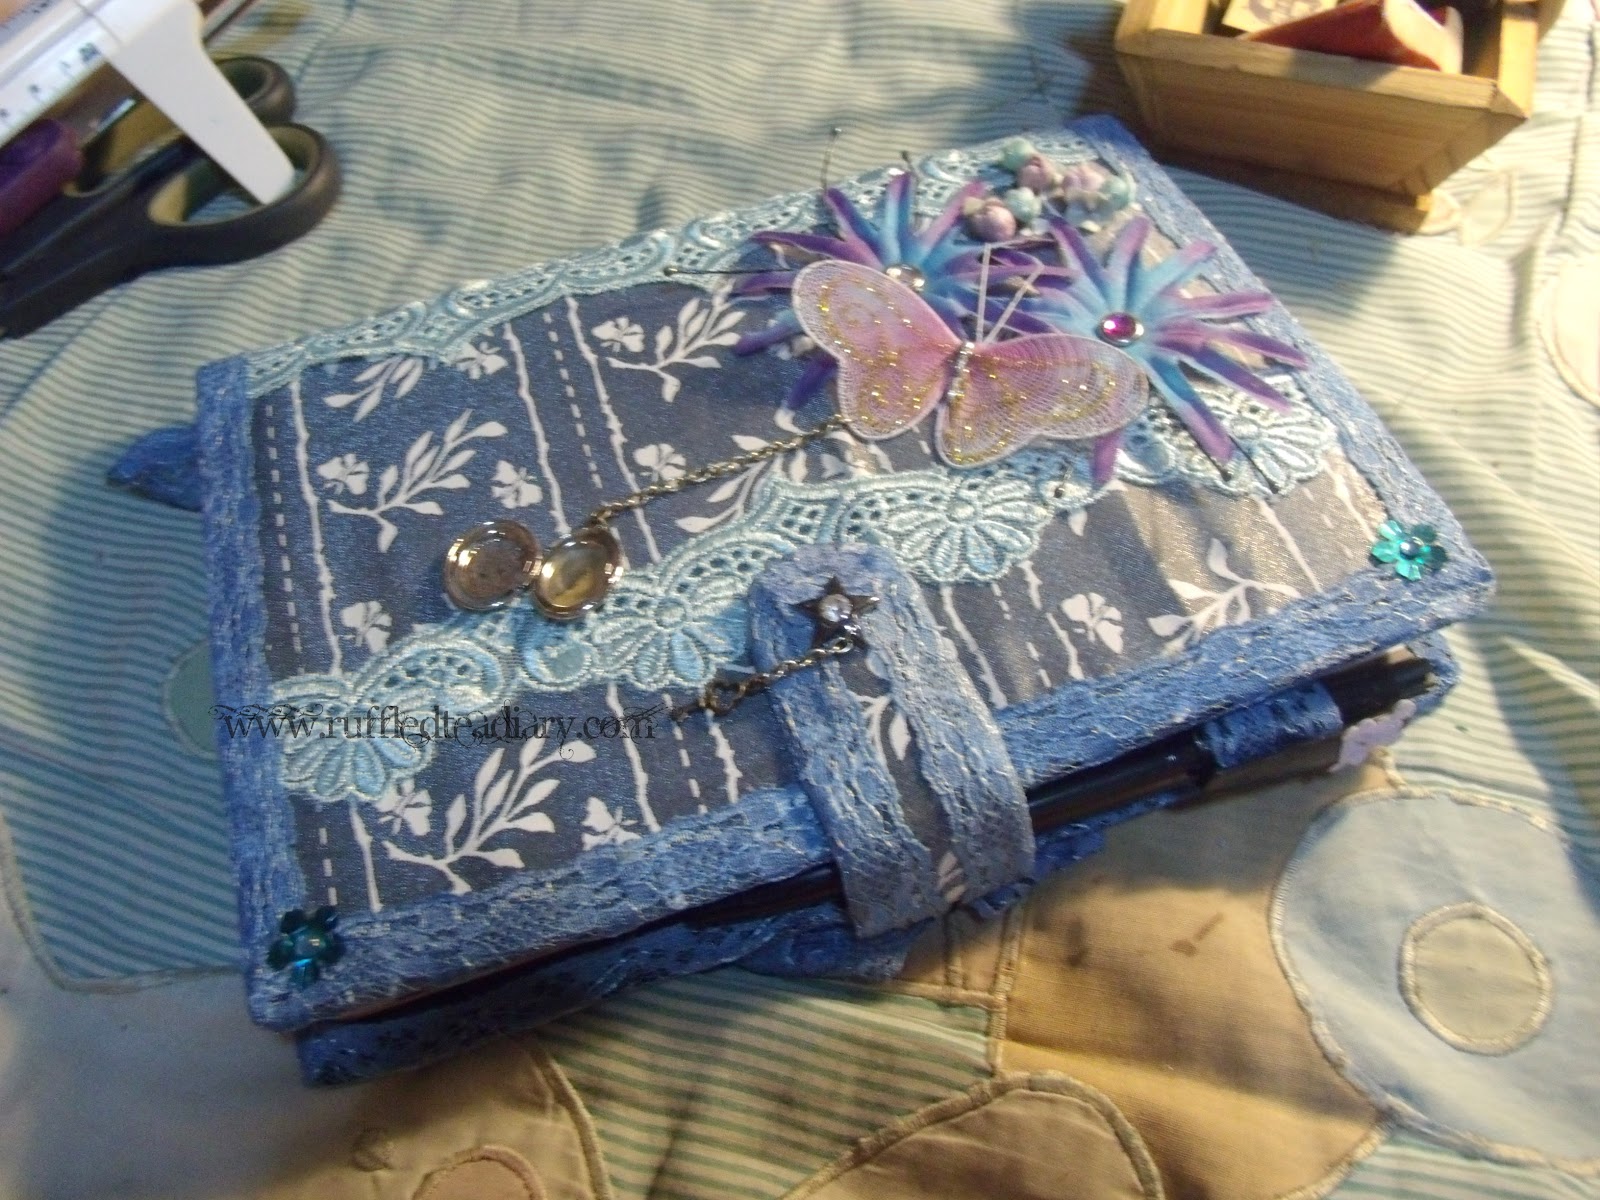
9. This is the fun part! ^_^ EMBELLISHING!!!~ Anything goes...

10. After embellishing the cover, I still feel that I should add more. So, I decided to make an envelope out of an old wrapper leftover. To do this, I traced a small envelope to the wrapper and cut and then...
TA-DAAAH!~
 |
| ♥ |
11. I glued them on the blank leaf of the planner (at the back part). But of course, you can add this wherever you feel like adding it. Look!~

I made two envelopes out of the old wrappers and also added a paper photo frame on the other side. I can slide in my favorite photo into this. By the way, these envelopes can hold business cards, bills, receipts, etc... Sometimes, we get too lazy to keep them in place, right? This could help you keep your small but important pieces of paper.
12. Guess where I put my DIY notepad.
Right here:
 |
| at the back of the last leaf... |
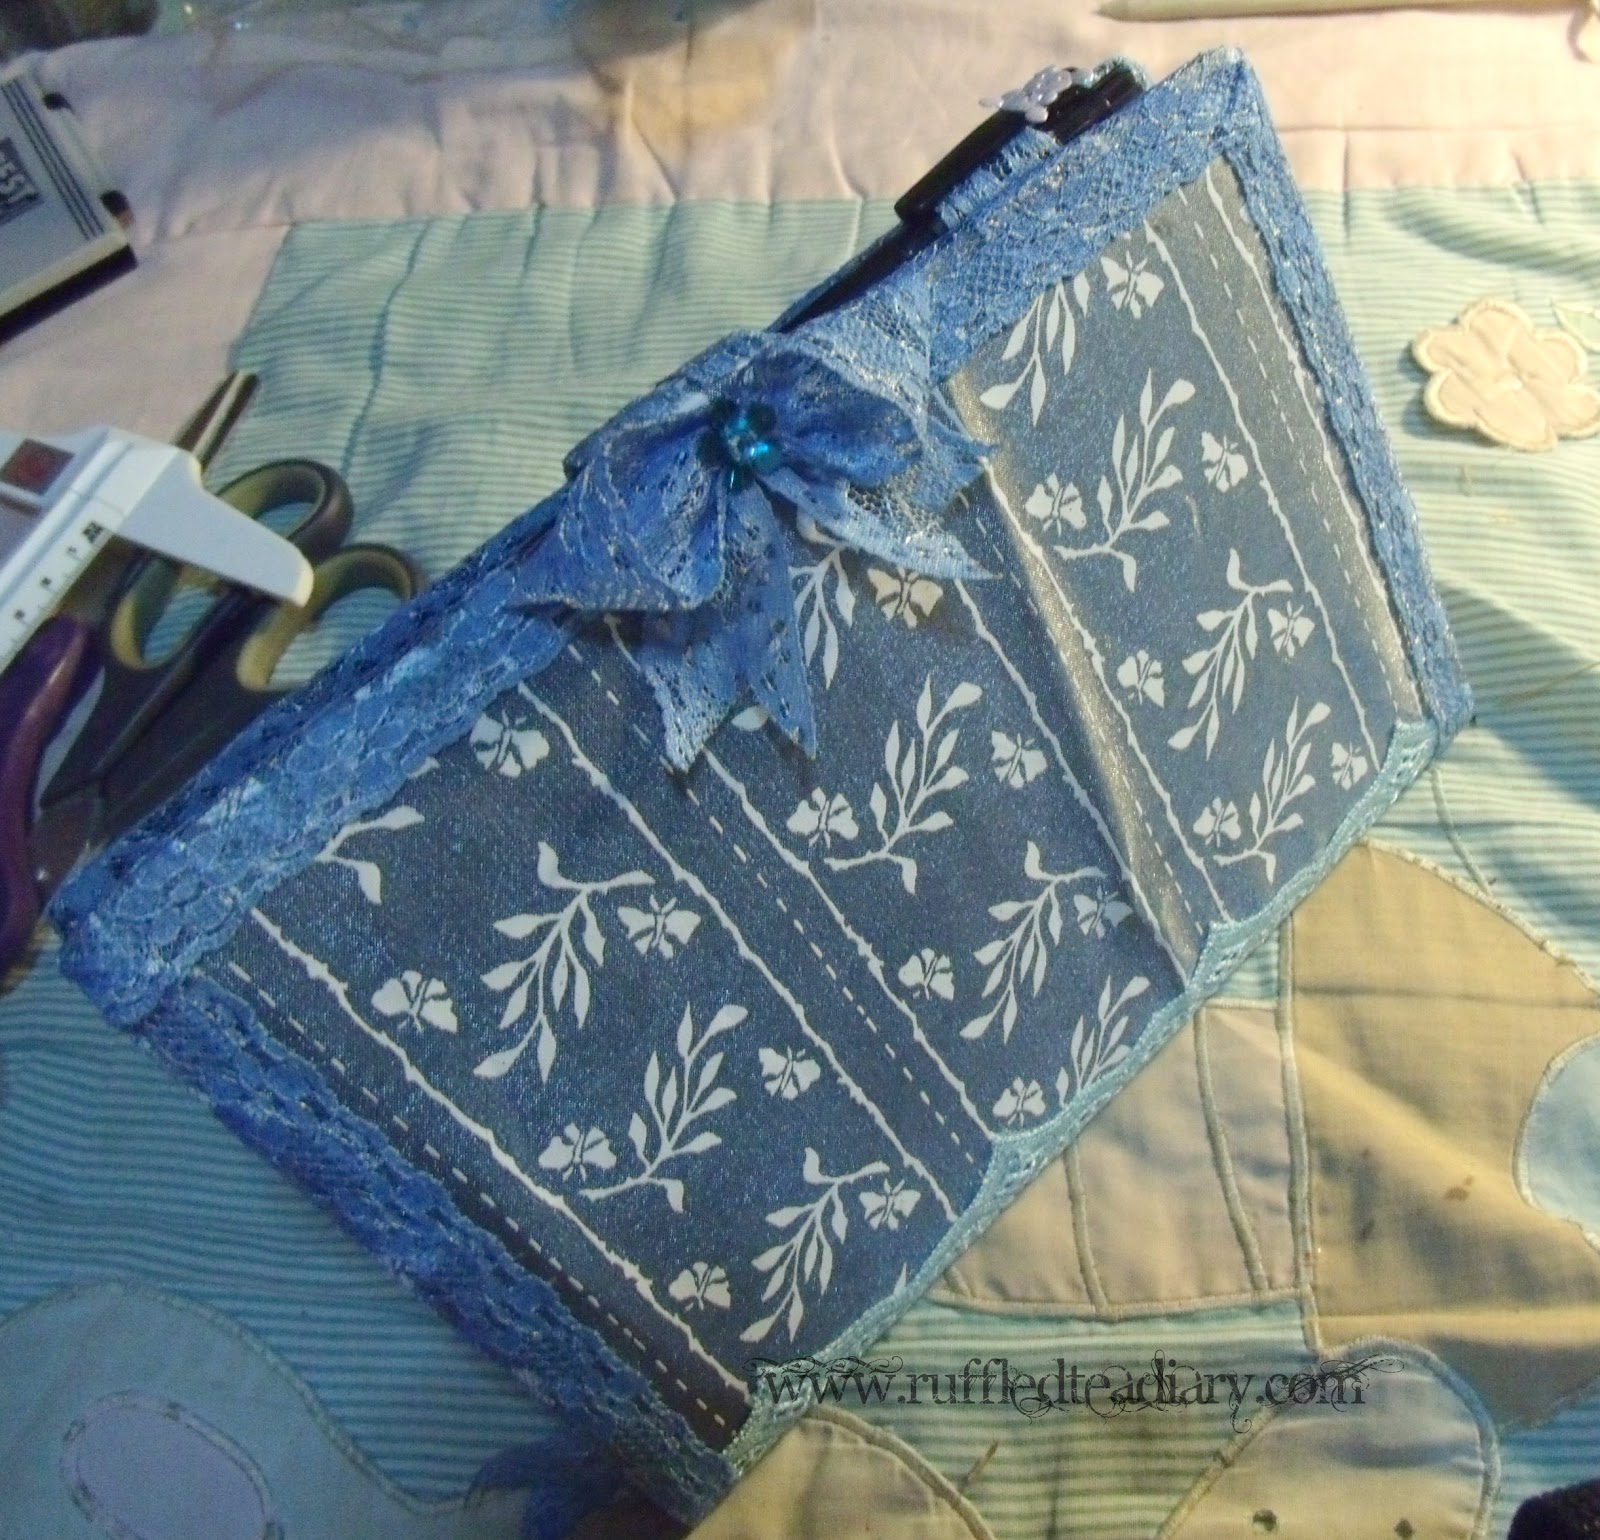
13. But wait! There's more! The bookmark!
 |
14. Now, this is optional. I want the pages to be cute, so I stamped on some nice prints and my name on each page.

 |
| really ready for: "Much love, Lunatix" ♥ ^_^ |
DONE-DONE-DONE-DONE!!!
This is now the oh-so-plain-ho-hum planner! Cute? I know!!! Hahaha
 |
| Front |
 |
| Back |
 |
| Details |
I added a small locket in case I want to be sentimental. xD Oh, how I love the key!~ Though this planner don't have locks. LOL. xD
~ ♥ ~
Now, let me ask...
Do you like it?
Because I want to give it away for free! ^_^
Watch out for my next post!
And Thank you for reading!~ ♥